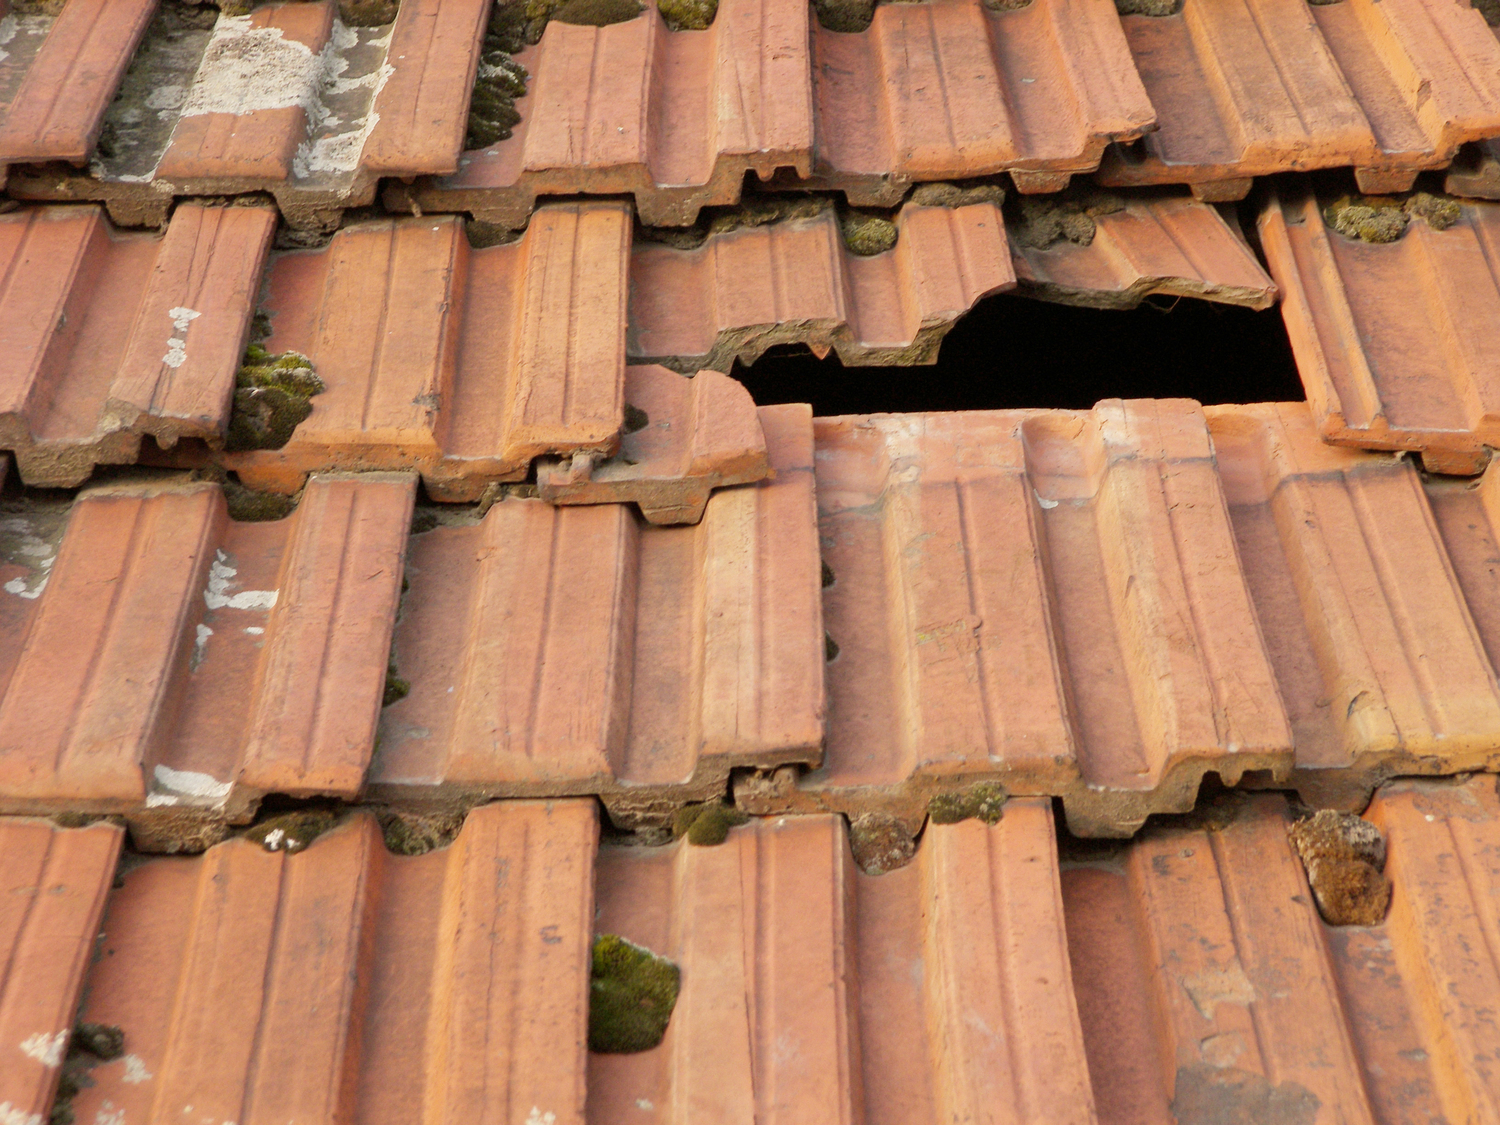
How To Attach Tarp To Tile Roof

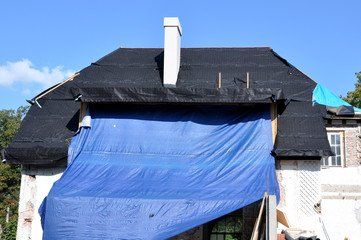
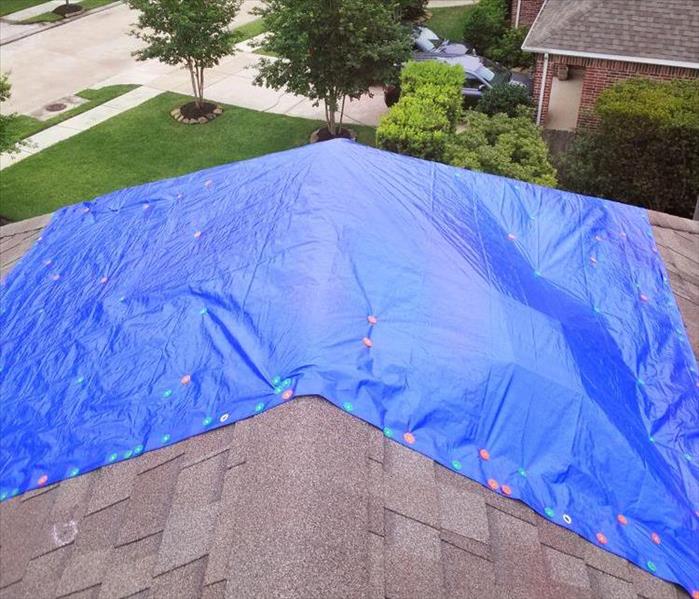
Install A Blue Tarp On A Roof Diy In A Hour

How To Cover Your Roof After Storm Damage Hunker
How To Tarp A Roof Without Nails Contractor Quotes

How To Tarp A Roof The Home Depot
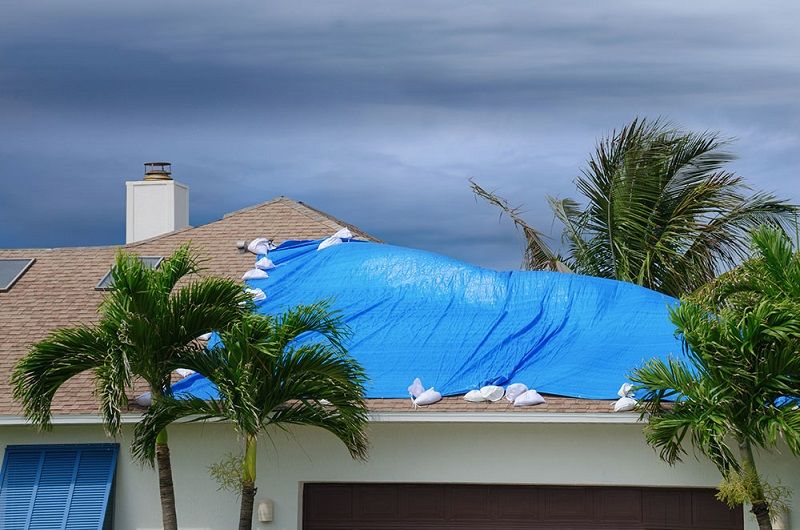
How To Tarp A Tile Roof Orlando Roof Tarping Roof Repair Orlando Temporary Repair

7 Steps To Temporarily Patch Your Roof With A Tarp Roof Emergency Roof Repair Roof Patch Roof Repair

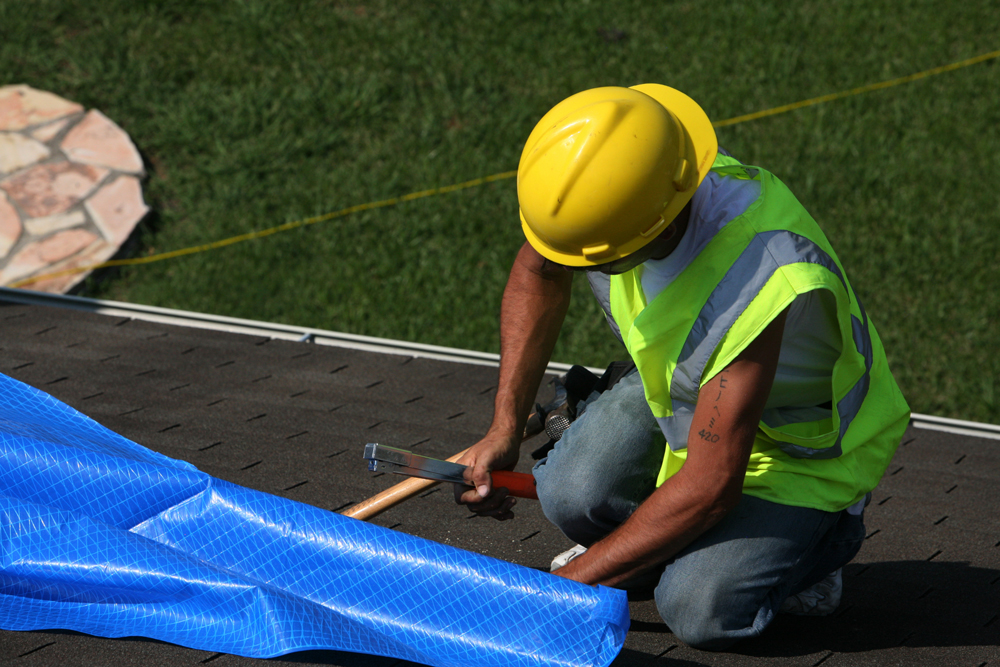
Find the source of the leak.
How to attach tarp to tile roof.

How To Tarp A Roof Like A Pro Grizzly Tarps Blog

How To Tarp A Roof

Utarpit Tile Roof Installation Youtube

Utarpit Self Adhesive Roofing Tarp For Pros The Home Depot Youtube

How To Attach A Tarp To A Leaking Storm Damaged Roof Today S Homeowner Roof Repair Roof Roof Damage

How To Tarp A Roof Youtube
How To Tarp A Roof For Temporary Roof Repair

How To Tarp A Roof A Complete Guide Rethority

Utarpit 20 Ft X 25 Ft Blue Roofing Tarp Bt2025 The Home Depot
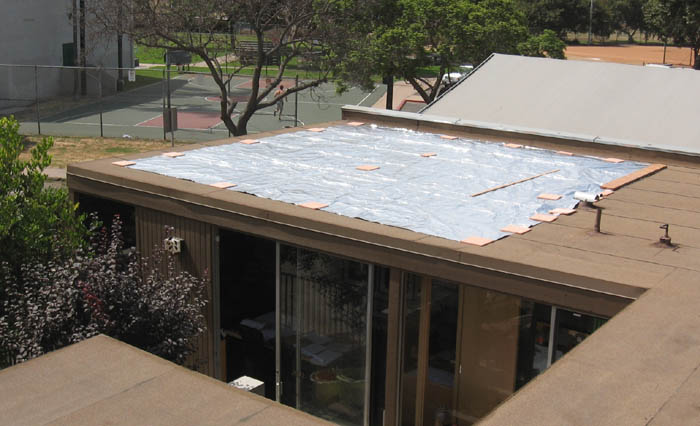
Solareflex And Snow White Cooltarps For Cool Roofs

Osha S Hazard Exposure And Risk Assessment Matrix For Hurricane Response And Recovery Work Roof Inspection Tarping Repair And Replacement
How To Tarp A Shingle Roof Extreme How To Blog

Our Blue Poly Tarps Are Available In Large Sizes Up To 100 X100 Use It For Roof Coverage Outside Storage Equipment Protecti Roof Large Tarps Google Earth

How To Tarp A Roof Without Nails Nailstip
Servpro Of Delray Beach News And Updates

Self Adhesive Roof Tarp Xtarp Solutions Corp
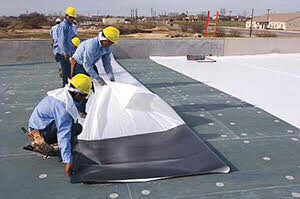
High Performance Adhesive Roof Tarp And Roofing Materials From Cti

Ulrich Construction Roof Demo In Progress Bullhead City Az Leaking Roof
Https Encrypted Tbn0 Gstatic Com Images Q Tbn 3aand9gcqhb7ffttswzcd5bnmttwzlb2ltnhgsraaqv1abzyggrzzoka9a Usqp Cau

Pergola Rain Covers Patio Shade Deck With Pergola Pergola Patio

How To Do Simple Roofing Repairs Roof Repair Roof Restoration Roof Damage

Turn Your Old Ripped Target Gazebo Into This Replacement Diy Gazebo Patio Gazebo Gazebo Roof

Pergola With Clear Roof Patio Ideas Pinterest Pergolas Patios And Backyard

Heavy Duty Waterproof Roof Tarps Tarp Factory
Source : pinterest.com
